Energy efficient, simple put, is efficient energy use. The goal to reduce the amount of energy required to provide products and services. I think most of us can agree that living in a home that uses less energy is important. Lower utility bills, that would be amazing. It’s how to begin the process that can be a bit daunting.
Make your Home more Energy Efficient with a few easy at-home Projects
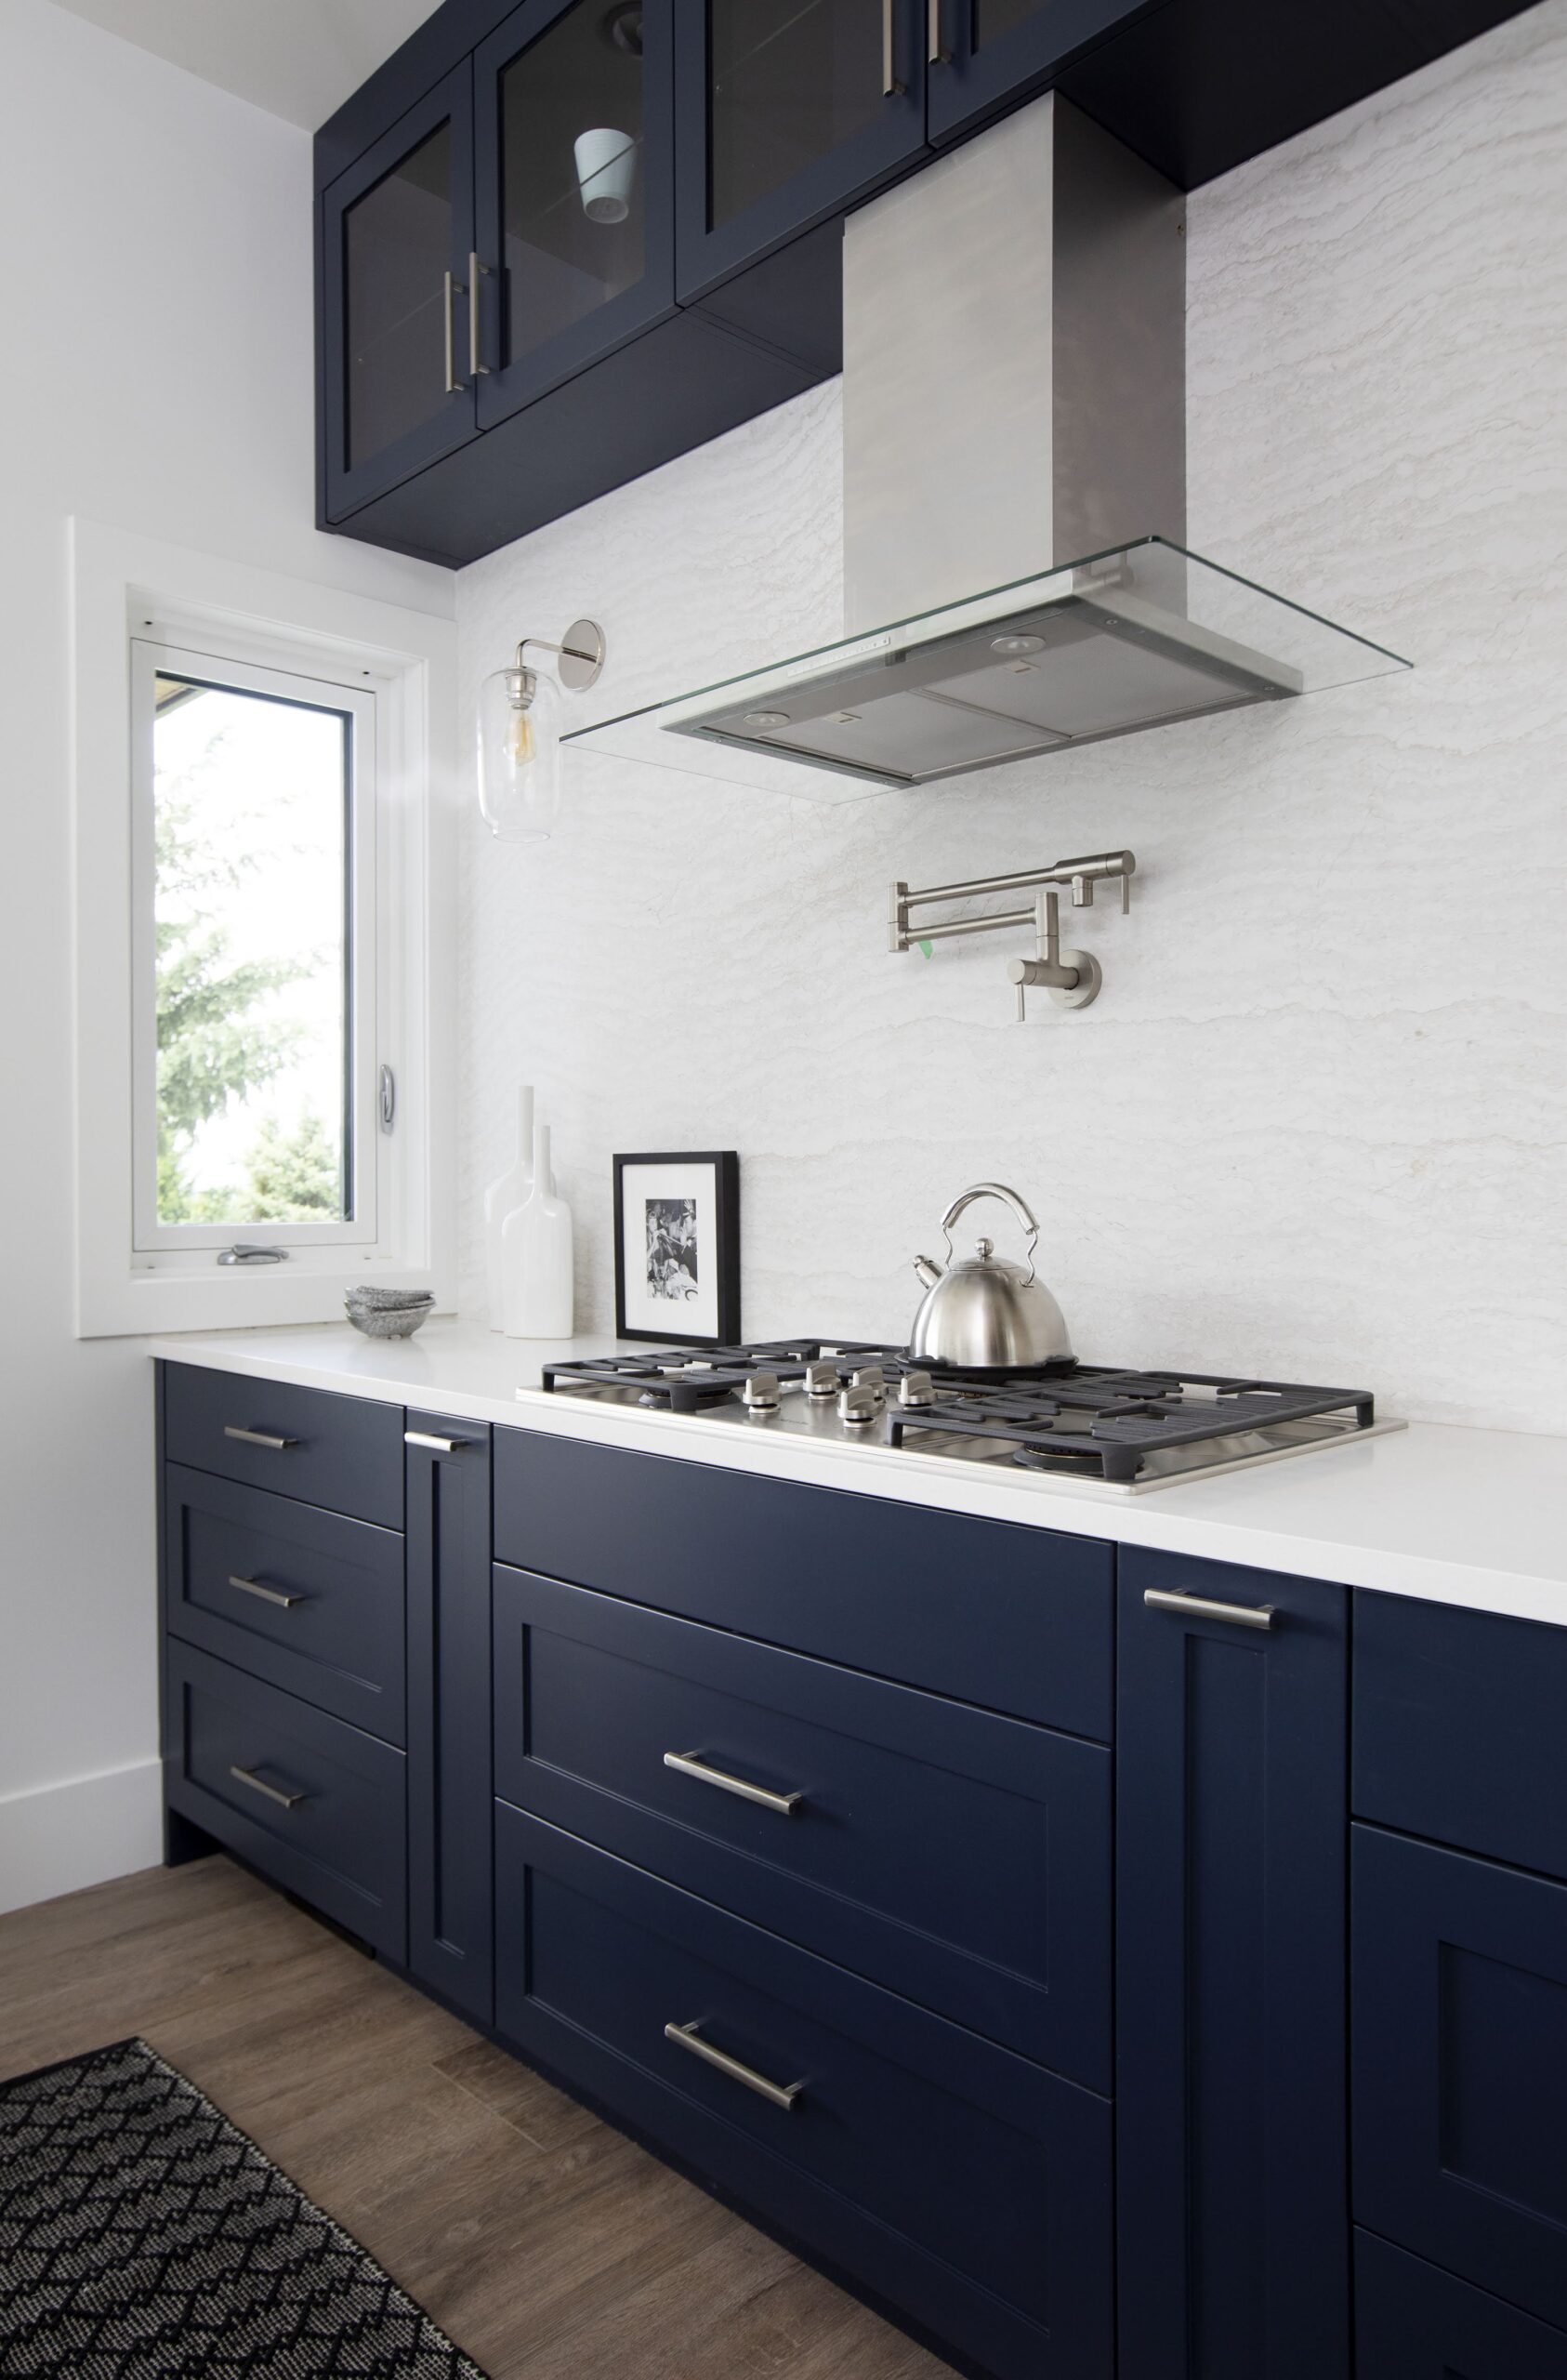
As we enter fall, we’ll find ourselves turning up the thermostat more often than not. With everyday living becoming more expensive month by month, the last thing we want to do is pay to heat the outside. Heat the outside? The obvious loss of heat would be open doors and windows. But the silent culprits in your home where that warm air could be leaking out your exterior doors, your windows, and your electrical outlets.
Even if your house is new, you may still want to check for air leaks. Some weather stripping only lasts 1-3 years. If you want to do a test to see exactly where there may be leaks, here is a quick and easy test you can do. All you need for this test is a stick of incense and some painting tape or post-it notes to remind yourself where you notice the leaks.
D.I.Y. Building Pressurization Test
A common way to check for leaks in your home is using a stick of incense. Using that, you can conduct a basic building pressurization test to increase infiltration through cracks and leaks, making them more visible.
- Turn off all combustion appliances such as gas burning furnaces and water heaters on a cool, very windy day.
- Shut all windows, exterior doors, and fireplace flues.
- Turn on all exhaust fans that blow air outside (ex. clothes dryer, bathroom fans, or stove vents) or use a large window fan to suck the air out.
- Light an incense stick, pass it around the edges of common leak sites (mentioned above). Wherever the smoke wavers or is sucked out of or blown into the room, there’s a draft. Take your post-it or painting tape and put a square when you find them. You don’t have to do this twice! You can also use a damp hand to locate leaks; any drafts will feel cool to your hand.
- If you don’t want to turn off your furnace, you can just turn on all your exhaust fans to depressurize your home.
Windows
Once you’ve figured out where the leaks are, choose what kind of energy efficient insulation you want to use. For windows, one of the most cost-effective and convenient ways to do this yourself is using window insulation tape which you can get at any local hardware store. To save yourself from buying too much or too little you can measure the windows in advance because the tape is sold in prepackaged rolls. You just need length and height, and then multiply that by two for how much you need for the full perimeter of each window.
Doors
For the doors you can use a self-stick weather rubber foam stripping which goes around the edges of your door to help create a tight seal. You also may want to purchase a door sweeper which comes in a variety styles. The one pictured below is the simplest to install, just make sure you measure your door before purchasing.The simple addition of a door sweeper will close the gap between the bottom of the door and the threshold. Both of these should cost under $50, and only take about 20 minutes to install. Doing this to your exterior doors will also keep bugs from getting in. Bonus!
Outlets
This last one is the easiest! In order to make your outlets more energy efficient, all you need is a screw driver and some outlet insulation pads. You should be able to find all sorts of options to fit your light switches at your location hardware store. If not, you can always purchase the traditional light switch style. Use a pencil and trace onto the insulation pad using the light switch cover and then carefully cut the hole(s) with a utility knife. Once you have unscrewed the plate, you simply put the insulation against the wall and screw the plate back on. It should look like this (below) before you screw the plate back on.Now that you’ve made your home more energy efficient, sit back and wait for those (much smaller) bills to trickle in. You should notice a difference if you’ve sealed everything properly. If you don’t see a difference in the few months following, do another Building Pressurization Test, and see if there’s any spots that were missed..
You may be reading this and wondering, will it really make a difference?
If every home made an effort to lessen their carbon footprint, the answer is YES. We live in a world where we have so many options when it comes to HOW we live. It’s very common knowledge those choices are effecting our Earth. In turn, our children’s future. We may be highlighting the fact that you’ll save money, but at the end of the day, it helps the Earth, too. See some of our current high efficiency homes that we’re working on right now.If you are curious to see what the carbon footprint of your home is, use the Carbon Footprint Calculator.
Completing this survey definitely takes looking bucket bills. You’ll also have to get a comfy seat. But if it can help motivate us to make changes, it’s definitely worth it. It also may make simple changes like these seem worth it.
To see what else Hasler Homes is doing to help our clients keep a small carbon footprint, click here.